
Driving By........with a tutorial!
As promised here are some instructions on how to make the slider card.
This card has again been made using Stampin' Up - Loads of Love and Accessories.
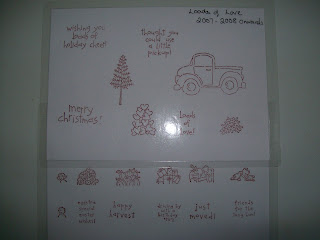


This card has again been made using Stampin' Up - Loads of Love and Accessories.

1) choose your image, colour it and then carefully cut it out. I used Promarkers to colour this image.

2) Cut a piece of plain card stock and create a background for your image. I used a brayer, post it notes and the trees from Lovely as a Tree.

3) Cut a small slot in your background carefully removing the piece of card whole. Now cut a piece of card stock a little larger than your background. Line up the background on the larger card (but do not stick) Replace the card back into the slot and stick this to the larger card. This means that the background remains the same when the truck moves.

4) Now take the truck, turn it upside down on your mat. Take the background and turn this upside down also - place over the truck and add some 3D foam pads.

5) Remove the backing paper and stick on two pennies.

6) Now cover this with 3D foam pads taking care not to obstruct the pennies.

7) Take your piece of card stock with the stuck down piece from the slot and stick it on to a square card. Now take the background - remove the backing from the 3D foam pads and carefully line up the slot over the card and stick down - your truck should now slide up and down the slot.

Hope you understood all this and have a go your selves. Perhaps you could leave me a link in the comments and I could pop over and take a look at the ones you make?
See you again soon - Jacqueline xx.


So brilliant Jacqueline! I like this one even more than the first! I am so inspired to have a go!
ReplyDelete