
Pop-up Owl Card Tutorial.
You may remember last week I showed you the pop-up owl card that we would be making today at my monthly workshop - you can see it here. It went down extremely well and everyone went home with their own pop-up owl card 'cos I spent all day Sunday punching out owls and cutting up card to make bunting. I didn't actually make the owls - I sorted all their bits into little cake cases for them to do it themselves.
I then did a demo of a more advanced pop-up, it still uses the owl punch but there are more complicated cuts involved.
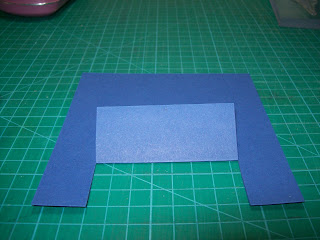
For this card I used a 5" x 5" square card base and I cut another piece of coloured card measuring 9 7/16" x 4 3/4" - this was folded in half and two cuts were made into the fold 1" in from each end and each 1 1/4" long. You now have three sections - fold the middle section up and crease
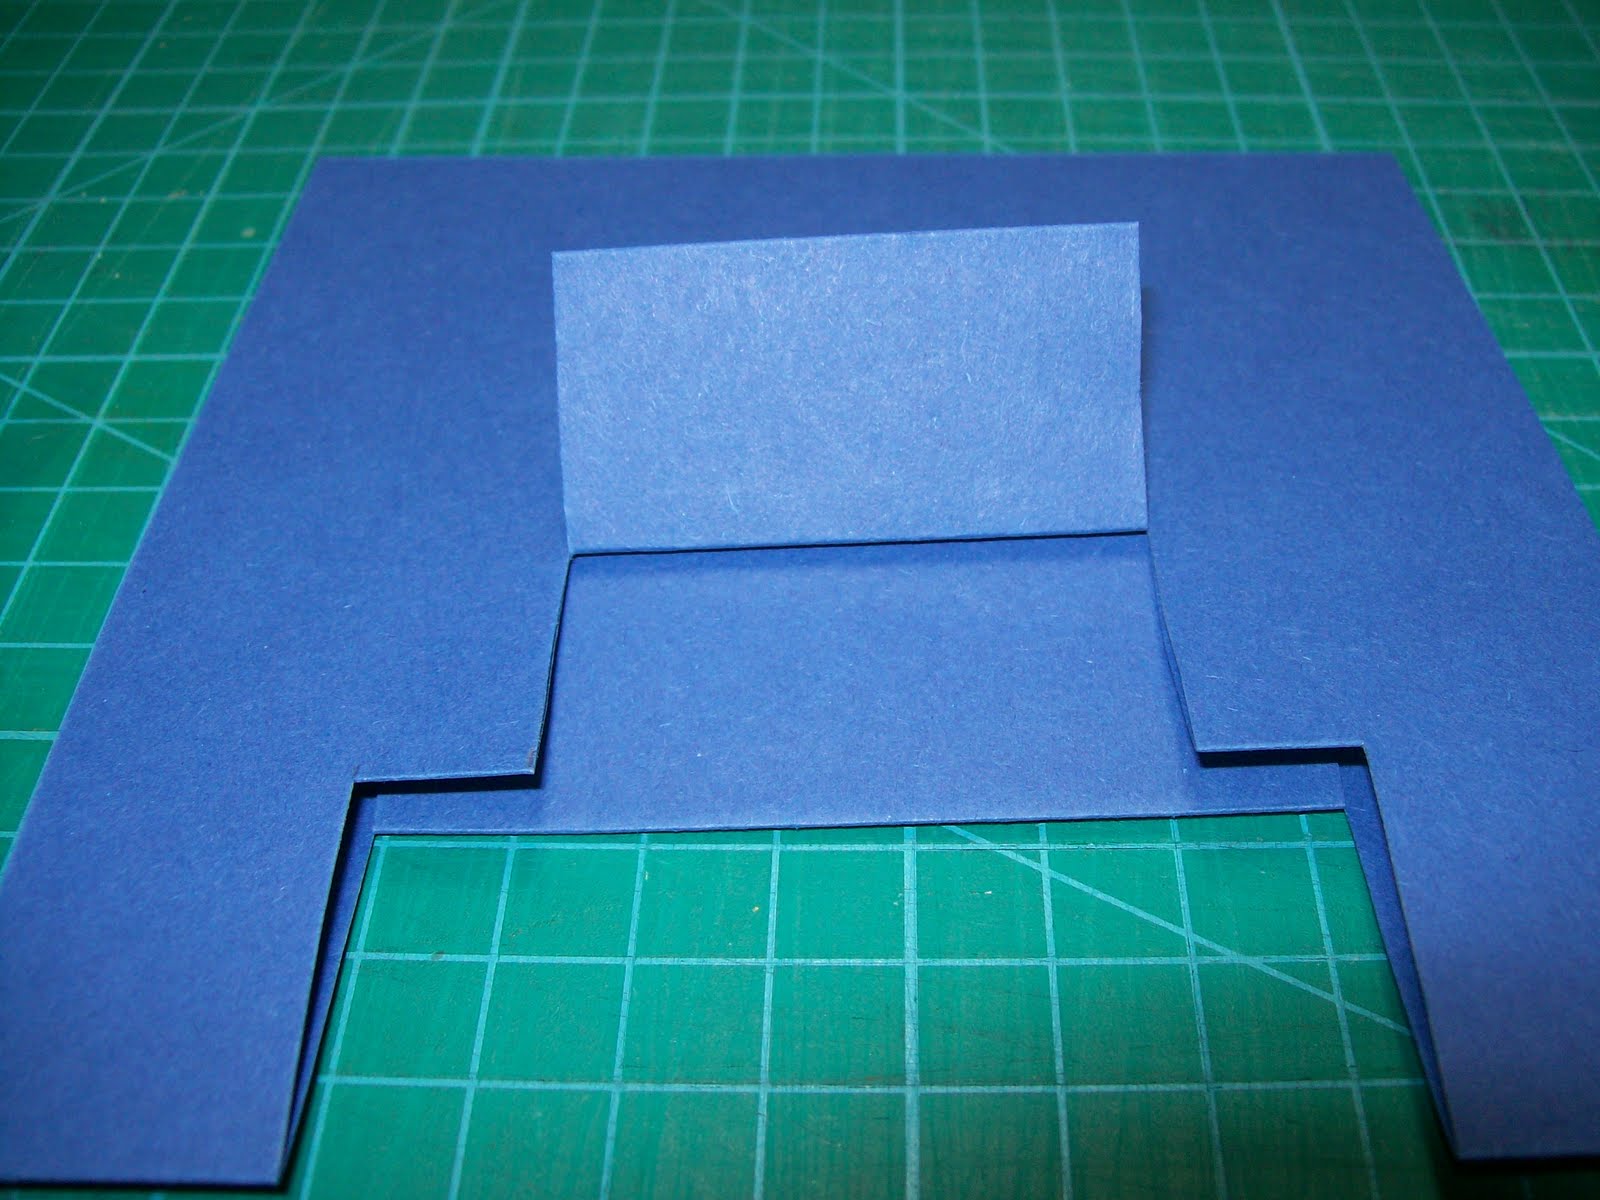
 Flatten the flap back down and carefully open your card, now press the middle section through and fold it inside the card - it should now look like this when the card is opened.
 This is the basis of your basic pop-up card - the cuts can be made smaller depending on the image you are popping up.
In this case I went a bit further. Close the card back up. You will now be able to see two folds on your card - repeat the process again this time just cutting into the top fold - this can be seen better in the next picture
 Again crease the flap, open the card carefully and press the fold through to the front. This process can be repeated as many times as the height of your card allows however take care not to go too high as the final fold will poke out of the end of your card! I did this process three times - before opening the card looks like this
 And then when you open it up it looks like this
 I then made up seven owls - two of my owls have bespoke wings made from a scallop oval
 The owls were then arranged on the card. I put the eyes on them after I had decided in which order they were going to go. Of course if you make this card you can use any images - cupcakes, presents ......cupcakes mmm cupcakes!!!
 This is the finished card on the inside. To hide the various cuts the card has been attached to the 5" x 5" card base with double sided sticky, it also makes it easier to decorate the front of the card
 Hope this tutorial has been useful to someone - I really enjoyed doing it, bye for now - Jacqueline xx.
I then did a demo of a more advanced pop-up, it still uses the owl punch but there are more complicated cuts involved.
For this card I used a 5" x 5" square card base and I cut another piece of coloured card measuring 9 7/16" x 4 3/4" - this was folded in half and two cuts were made into the fold 1" in from each end and each 1 1/4" long. You now have three sections - fold the middle section up and crease


In this case I went a bit further. Close the card back up. You will now be able to see two folds on your card - repeat the process again this time just cutting into the top fold - this can be seen better in the next picture


Thanks so much for this one as I absolutely love those cute owls and I'm sure your class ladies won't want to give away what they made.
ReplyDeleteHugs, Fliss xx
This is one I will have to try, love the owls.
ReplyDeleteCathx
Hi Jacqueline - I'm just back from holiday and thought I'd have a look at your blog. Well, as usual you have blown me away! This is such a fabulous, fun pop-up card and your owls have such character, and having had a look through some of the cards I've missed it looks as if you've been very busy! I've been wondering what your MYM challenge is this week too so I'm off to have a look over there... Vx
ReplyDeleteI like this very much and am planning make this for my friend, I can't get the owl punch so i am going to make my own! :) Love it <3
ReplyDelete